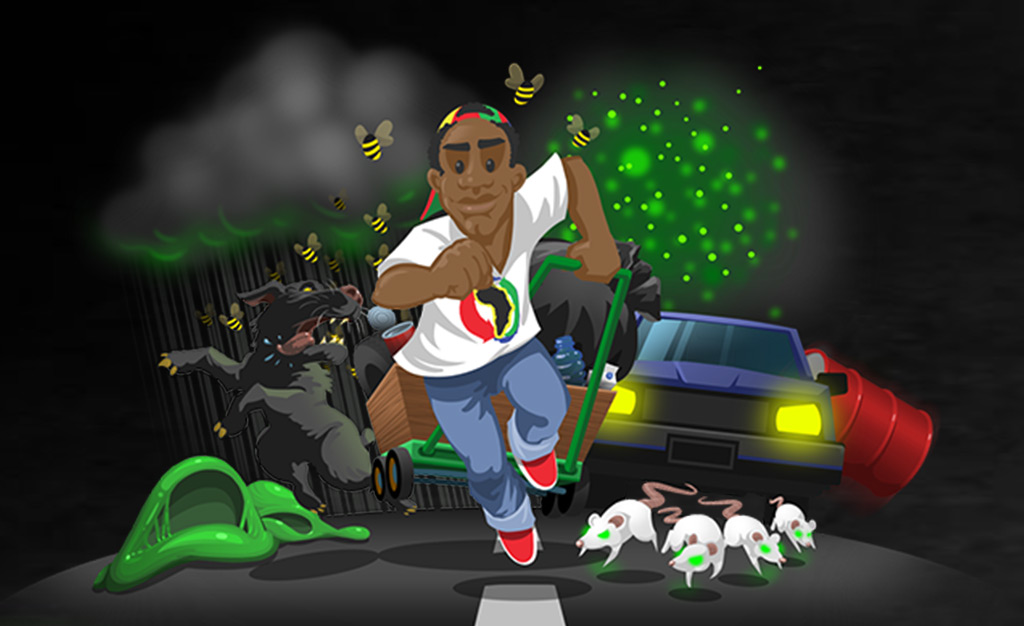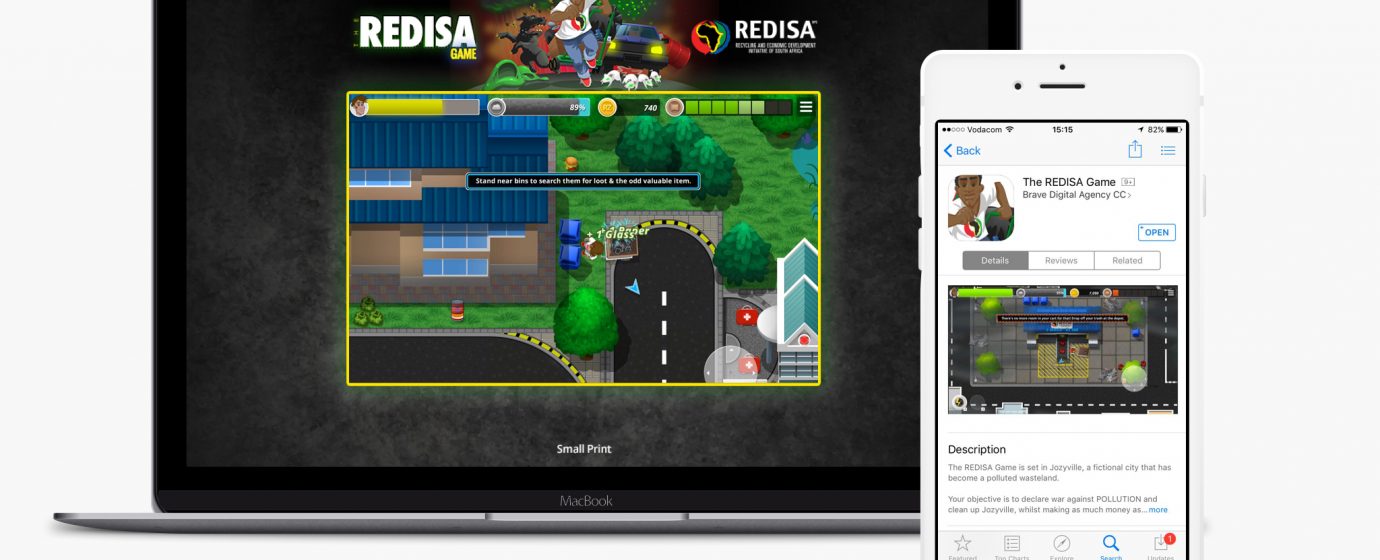
So yay! You’ve finished development on your game, congratulations! I have to warn you though, you might still have a challenge waiting for you if you want to get your brand spanking new game out to the public. I was tasked with getting our first Unity game, The REDISA Game out to market, which turned out to be quite tricky.
First, let’s talk about Unity. Unity is a Game engine that is freely available for download by any aspiring indie dev, to create and build any game you can imagine. Unity also allows you to build and package your game for deployment on a host of platforms, the focus of this article being: The Apple App Store, and the Google Play Store.
To allow Unity to build for one of these stores you need to configure your build settings and specific settings for each platform. Assigning icons and other store assets at this stage also simplifies future builds and updates because if you do not, you would need to add these icons and media later, a horrid task to have to do more than once. Show me the man who likes dragging files into little boxes and I’ll beg him to do it for me!
Important Note! – Choose your name with care, changing your name after creating your app in the store is technically possible, but it’s a major headache and requires updated builds to do.
Okay, so lets get started on the specific process for each store:
Android
Oh Google, you wonderful mess of goodness, the don’t be evil motto shines bright in the Play Store. Submitting to the Play Store should be your first task, as it is the simplest one of the lot, and will allow an almost immediate release to the aforementioned public. Unity can directly build an .apk for you to submit to the store with no added faff. Lets get started with the build settings.
Finding your build settings is done by going to file > build settings in your navigation. This opens a window that lists your scenes and your target platform. Once you’ve selected the Android platform, you can switch to it. The next step is hitting the player settings button in the bottom left of the popup window.
The player settings will open in your inspector. This gives you a host of options for packaging and building your game. First and foremost would be to add your company and product name at the top, as well as the highest resolution icon available as default. In the tabbed browser below you will see a bunch of settings, and then realise there are loads more settings hidden inside the tabs in little toggles. In the irreverent words of the Hitchhikers Guide, don’t panic! We have a game on all the stores and I still have no idea what the hell half those settings do.
…don’t panic! We have a game on all the mobile stores and I still have no idea what the hell half those settings do.
You can specify settings for each target platform, but for now we will look at the Android section. Here you will find a host of icons, splash images and more to populate as well as a couple of other features worth taking a look at. The most important however is to enter, and note the Bundle Identifier field. This will be used when submitting to the store.
All of the settings in this pane are specific to the game and its targets, and at least with the Play Store none of these are a deal-breaker in terms of strong signing. Once you are happy with the setup here, you can proceed to build from the build window. Choose where to save your .apk and presto! You are ready to submit.
Submission requires a Google Developer Account, which for the most part just requires more information from you to extend your current account, but does incur licensing costs if your needs grow. Submission can be done via the Google Play Developer Console. Your dashboard should have a button that gives a simple step by step wizard with a questionnaire to determine your Maturity Rating. It’s best not to lie to the wizard, (because wizards are cooler than muggles) as Google has a reactive policy in terms of its approval process. An app can be put on the store, and if it gets a lot of traffic, Google curators will test it out, or as soon as someone flags the app with any type of complaint you will come under review.
Once you have stepped through all the prompts, your game will be ready to publish, and your audience can have a swing at flapping wings or doing whatever fun thing you’ve created for them.
iOS
This is where it becomes a lot less breezy. It doesn’t seem like beginners luck applies to creating giant repository of artboard and self-help apps, well at least not to the side the developers of said apps store. Getting anything onto any sort of Apple device is an arduous process with a high barrier of entry. Firstly you need four things:
- A Developer Licence bought from Apple
- Some type of Apple computer to compile and build your project on.
- XCode
- The Virtue of Patience
Resign yourself to it now, this a process of finicky settings and blankly staring at progress bars, with slight outbreaks of madness when you get an error that could only have been fixed four progress bars ago. Lucky for you I can give you a few tips to lessen the amount of random settings that should have been set.
Resign yourself to it now, this a process of finicky settings and blankly staring at progress bars, with slight outbreaks of madness when you get an error that could only have been fixed four progress bars ago.
Building From Unity
When building your project for deployment to iOS in Unity, there are a couple of settings you should look at. Firstly you should look at the Scripting Backend. The scripting backend setting specifies what Unity builds your project too, and if you are looking to deploy your app on any of the new 64-bit devices you should make sure this is set to IL2CPP instead of mono2x. Next set the architecture to Universal. Messing with the other settings here should be fine, however be careful, some of these settings will only give you negative feedback at the last possible stage. After you are done, you can build the game to an XCode project.
To get to a point where you can get an .ipa submitted to iTunes Connect you first need to download, install and set up XCode.
XCode
XCode is Apple’s proprietary IDE, and the only way to get an app deployed to an Apple device. XCode can only run on a Mac, and to deploy your app, you will need to have an Apple Developer account set up and approved as well.
You can download the latest iOS SDK with XCode from iOS Dev Center. The next few steps are all documented in Unity’s documentation here. Unity’s documentation really helps here, and the only extra tip I have is that you have to remember that each device you want to deploy to for testing needs its bundle identifier added to XCode and your account. This is cumbersome for beta testing as all devices need to be updated directly from your device, a better choice would be to get your app out to the store without launching it, and using Apple’s test flight to run your beta testing, this allows you to do over the air updates, and remote distribution.
Once you’ve gotten to a point where you can test the game on your iOS device and you are ready to submit, I have a few tips the documentation doesn’t tell you. Firstly, to get something built you need to go product > archive. There, I already saved you 20 mins of frustration looking around the cluttered interface. The next thing to consider, are the three steps of strong signing and validation. XCode itself finds the major problems, then Application Loader scans your strong, certificates and libraries for problems, then Apple’s review process looks deeper. For each of these checks certain things need to be set before you package and build:
- App Icons: App Icons are required, all of them. XCode warns you if the sizes are wrong or if any are missing. This should all be filled in as the review process rejects an .ipa that does not contain the icons for the targeted device.
- Bundle identifier: Before you submit your game you should have created the app in the developer dashboard. Your bundle identifier should be identical to the one listed there for your app, otherwise your submission to the store will fail.
- Version and Build Numbers: Only a single version of a build can be uploaded unless you change your build number before you Archive the project.
- Capabilities: Remember to set your entitlements in XCode, these little checkboxes are only reported to be wrong after the review process, which is a terrible realization after 30 minutes of looking at progress bars, and a couple of days waiting for review.
And that should be it, from here you are ready to submit to store. This can be done directly via XCode, however I’ve found that this is slower and fails for no apparent reason. What works better for me is to export the archive to .ipa and to then use the standalone Application Loader application for your submission, it is installed to your Mac by default.
When you have submitted your Unity-XCode .ipa to the store, you can prepare your submission in iTunes Connect. This process is mostly self-explanatory and guided, however the last tip I can give you is to check that you have screenshots and icons for every possible device, in the correct dimensions. Your submission will fail if you are missing any of these items for the store listing.
And that’s it for now! I hope this article helped some developers out there to diagnose or avoid some of the issues I faced when doing the app store submission. Next time I might get into submitting to Windows, if the platform lasts that long…