This article will hopefully help you get up and running in terms of writing React components in ES6 with Webpack and live reloading. I will try and explain the code line-by-line, so even if you’re unfamiliar with some of the topics, you should be able to follow along. I have included a few helpful links at the end for further reading. Let’s get started!
Setup
Start by initialising a npm project by running:
npm init
…afterwards we can install dependencies react and react-dom and add a save option to write these into your package.json
npm install react react-dom --save
…next we need to install our dev dependencies: babel-core, babel-loader, babel-preset-es2105, babel-preset-react, babel-preset-stage0, webpack and webpack-dev-server. Again, make sure to add the save option.
npm install babel-core babel-loader babel-preset-es2015 babel-preset-react babel-preset-stage-0 webpack webpack-dev-server --save-dev
Create files:
Let’s create some files with the touch command: index.html, main.js, App.js webpack.config.js .babelrc
touch index.html main.js App.js webpack.config.js .babelrc
The project structure should look like this now:
- node_modules
  - ...
- .babelrc
- App.js
- index.html
- main.js
- package.json
- webpack.config.js
Open the project in a text-editor. Firstly, let’s create a basic html structure for the application inside index.html:
<!DOCTYPE html>
<html>
  <head>
    <meta charset="utf-8">
    <title>Hello World</title>
  </head>
  <body>
    <div id="app"></div>
    <script src="index.js"></script>
  </body>
</html>
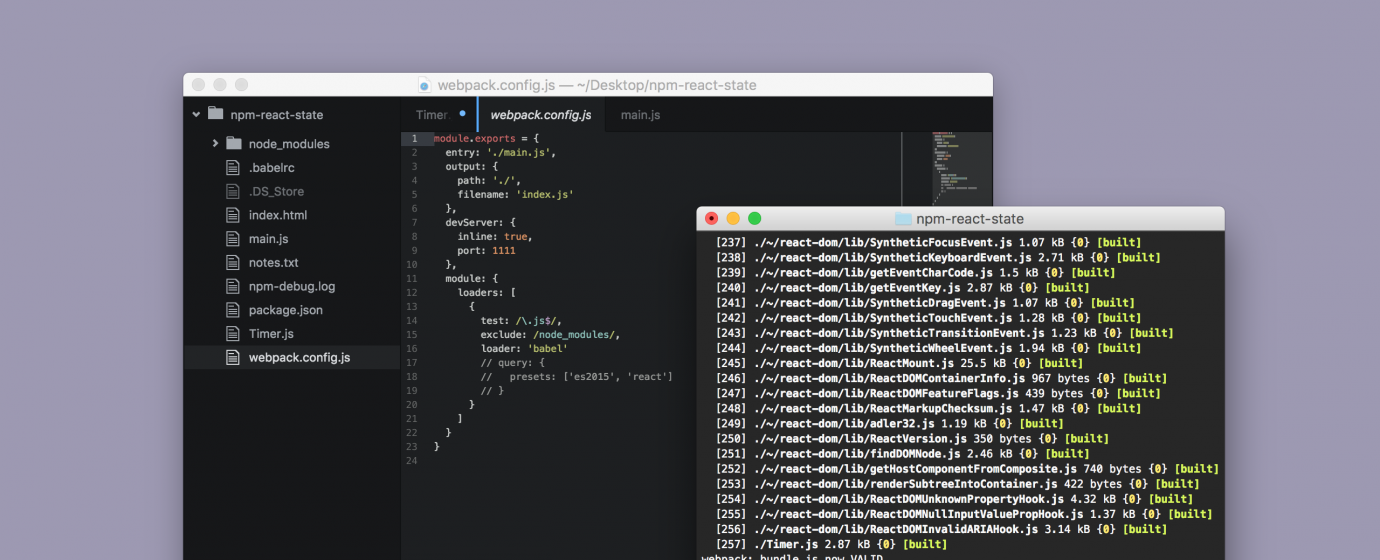
Configuring the webpack.config.js file:
module.exports = {
  entry: './main.js',
  output: {
    path: './',
    filename: 'index.js'
  },
  devServer: {
    inline: true,
    port: 8080
  },
  module: {
    loaders: [
      {
        test: /\.js$/,
        exclude: /node_modules/,
        loader: 'babel'
      }
    ]
  }
}
Let’s define the babel presets inside .babelrc
{
  "presets" :["es2015", "react", "stage-0"]
}
Writing the first component:
Start by importing React and ReactDOM into the App.js file. Next, create the component class and extend it with React.Component.
For any component to return something, it needs to have a render function. (As a side note, components always need to be wrapped inside of an html element if you use more than one semantic element. E.g.: if you have an H1 and a p inside your render function, you need to wrap these together inside of a div.)
Next, export your component with export default App.
import React from 'react'
class App extends React.Component {
  render() {
    return <h1>Hello World</h1>
  }
}
export default App
…Finally, tell React to mount the component to the app id you created in the index.html.
Import React and ReactDOM into main.js, tell React where to look for the component you want to mount, and set up a const for your component to mount to. Now you can send props to your component by adding name=”Hello World” inside of your component:
import React from 'react'
import ReactDOM from 'react-dom'
import App from './App'
const root = document.getElementById("app")
ReactDOM.render(<App/>, root)
All that’s left to do is run the following command, and you can start writing React components in JSX and live reloading.
npm run start
Props
Getting data into your component is as simple as defining an attribute on your component, like so: name=”Name”
ReactDOM.render(<App name="World"/>, root)
…and then you can call the value from anywhere inside of your JSX by calling this.props surrounded by curly brackets.
import React from 'react'
class App extends React.Component {
  render() {
    return <h1>Hello {this.props.name}</h1>
  }
}
export default App
State
The purpose of the state class in React is to keep track of internal changes in your view, with one exception that you need to call the setState method. With ES6, you define your state with constructor() and super();
As a reminder, a state with blank values is still a state, so it’s still a good idea to define one.
Let’s look at the example below. We’re creating a basic profile component with a title and a title and set up default values (state), next, write a function that takes the value from the input and updates the state values. Lastly, call the function on your input and add .bind(this) to tell the function that it is referring to (this).
import React from ‘react’;
class Profile extends React.Component {
 constructor() {
  super();
  this.state = {
   name : "Name Surname",
   title: "Job Description"
  }
 }
changeInput(e){
  this.setState({
    name : e.target.value
  })
 }
render() {
 return (
  <div>
   <input type="text" onChange={this.changeInput.bind(this)}/>
   <h3>{this.state.name}</h3>
   <h2>{this.state.title}</h2>
 </div>
 );
 }
}
export default Profile
Nested Views
This is where it gets really fun. As you build all these components, you can start creating a more readable complex UI by including all the parts into one file and exporting them as one component:
import React from 'react'
import ReactDOM from 'react-dom'
import Profile from './Profile'
import Posts from './Posts'
class ProfilePage extends React.Component {
  render() {
    return (
      <h1>Profile Page</h1>
      <Profile props="@props"/>
      <Posts props="@props"/>
    )
  }
}
export default App
Conclusion
If you’re looking to build single page applications with complex UIs, I really suggest giving React a try.
Here are some additional links to help you get started, or just to see some really awesome things that are currently being built with React.